Managing Multiple Projects Efficiently Using Atarim
How to run twenty client projects without twenty times the overhead — structure, shortcuts, and the parts worth automating.
Two projects need no system. Twenty need one, and the difference is not effort — it is whether the structure does the remembering for you.
This article covers the decisions that matter at volume: how to divide work, how to find anything in seconds, what to automate, and what to clear away.
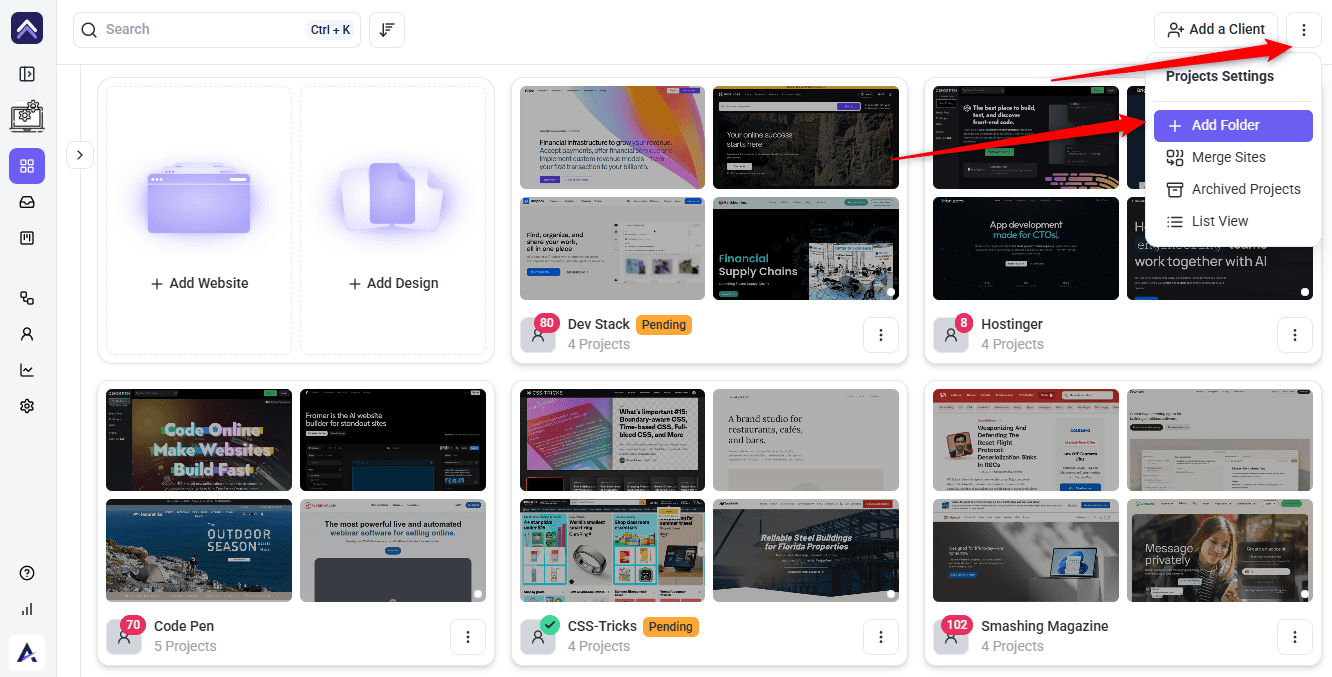
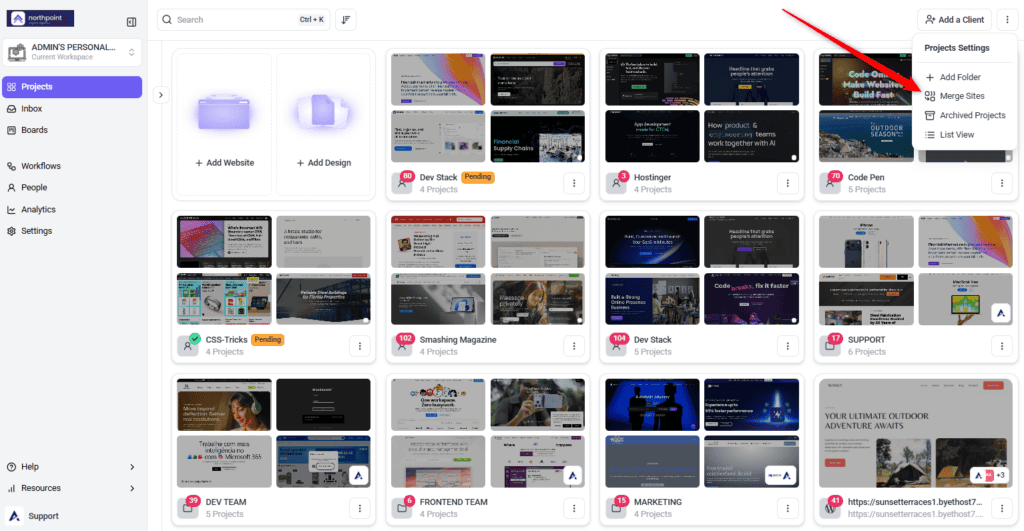
Start with Structure: Workspaces or Folders?
Both group projects, and choosing wrongly is the most common cause of a dashboard that feels unmanageable. The distinction is about separation, not tidiness.
| Workspaces | Folders | |
|---|---|---|
| Separation | Complete — projects, people, and settings are isolated. | Visual — everything stays in one dashboard. |
| Switching | You change workspace to see the other set. | Everything is visible at once. |
| Team access | Per workspace. | Assign people to a folder and they get every project in it. |
| Use for | Genuinely separate businesses, brands, or departments. | Clients and accounts inside one business. |
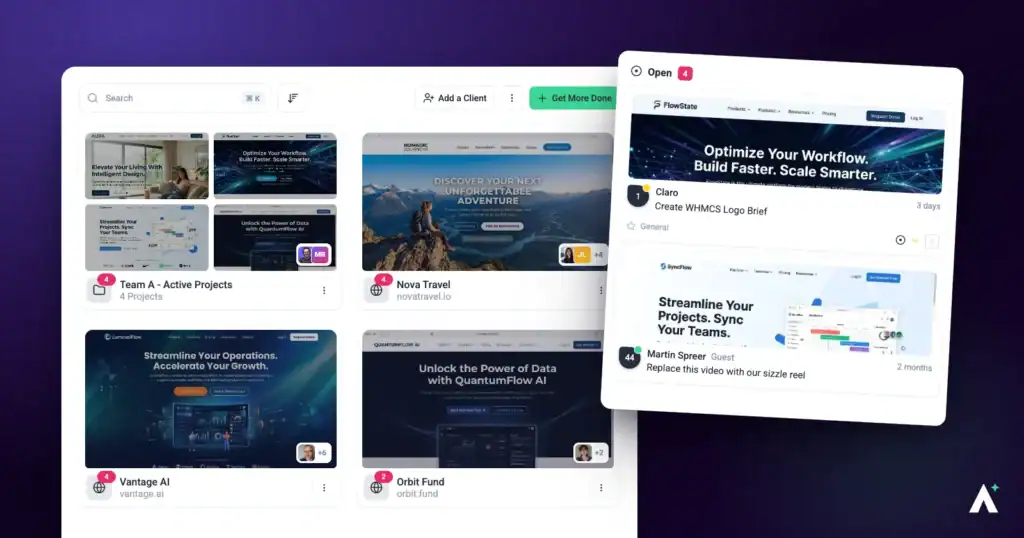
Organise Folders by Client
The folder structure that survives is the one based on something that does not change.
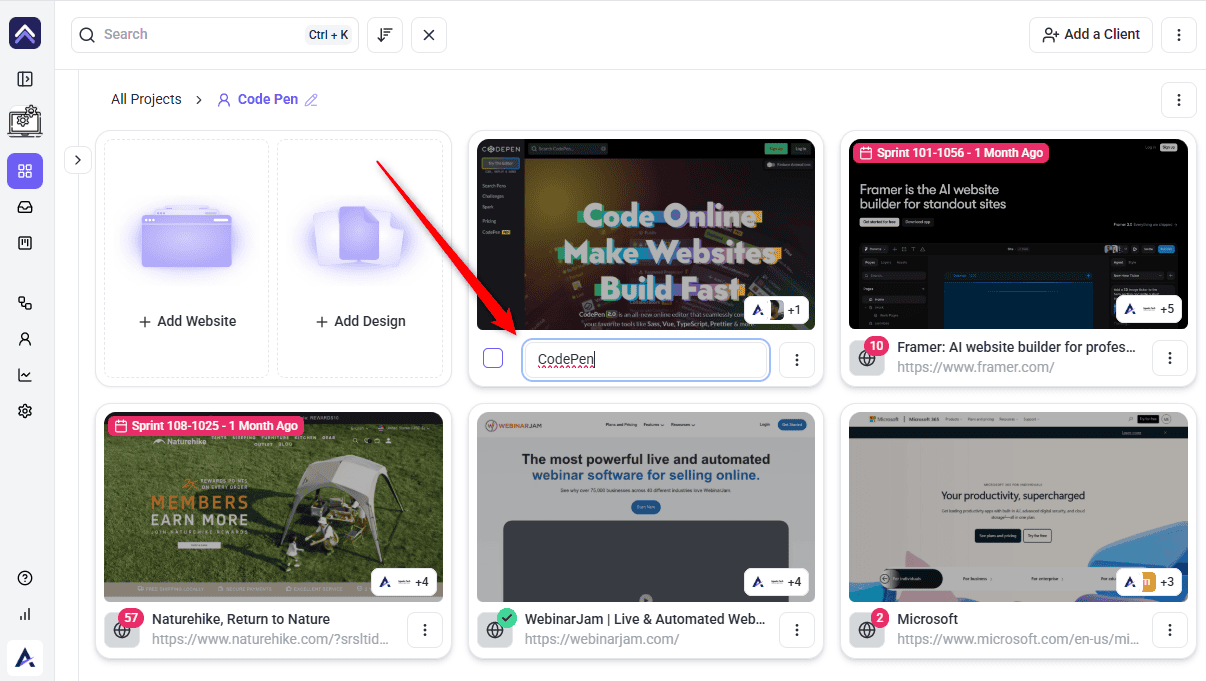
Agree Naming Conventions Early
At volume, a project’s name is how you find it. Default names taken from a site’s title page are the single biggest obstacle to scanning a long list.
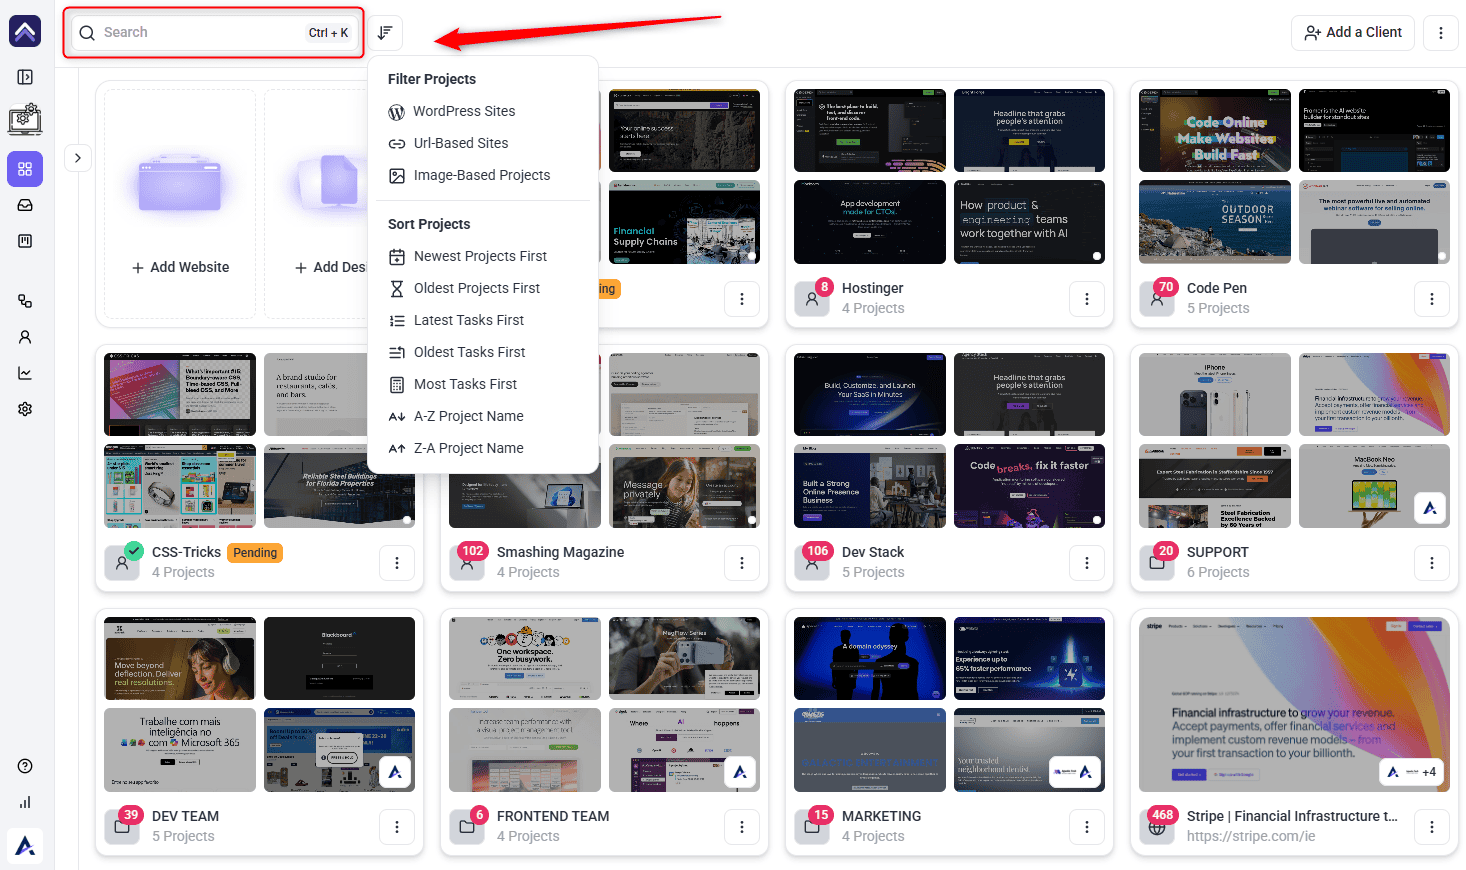
Find Anything in Seconds
Once you pass a screenful of projects, navigating by scrolling stops working. Four tools replace it.
| To find… | Use |
|---|---|
| A project or task you can name | Ctrl + K — searches sites and tasks together, with shortcuts into Inbox or Boards on each result. |
| Where your team is working right now | Sort by Latest Tasks First. |
| Work that has been ignored longest | Sort by Oldest Tasks First. |
| Your heaviest projects before planning a week | Sort by Most Tasks First. |
| Only WordPress sites, or only designs | The project type filters. |
| One client’s work | Open their folder. |
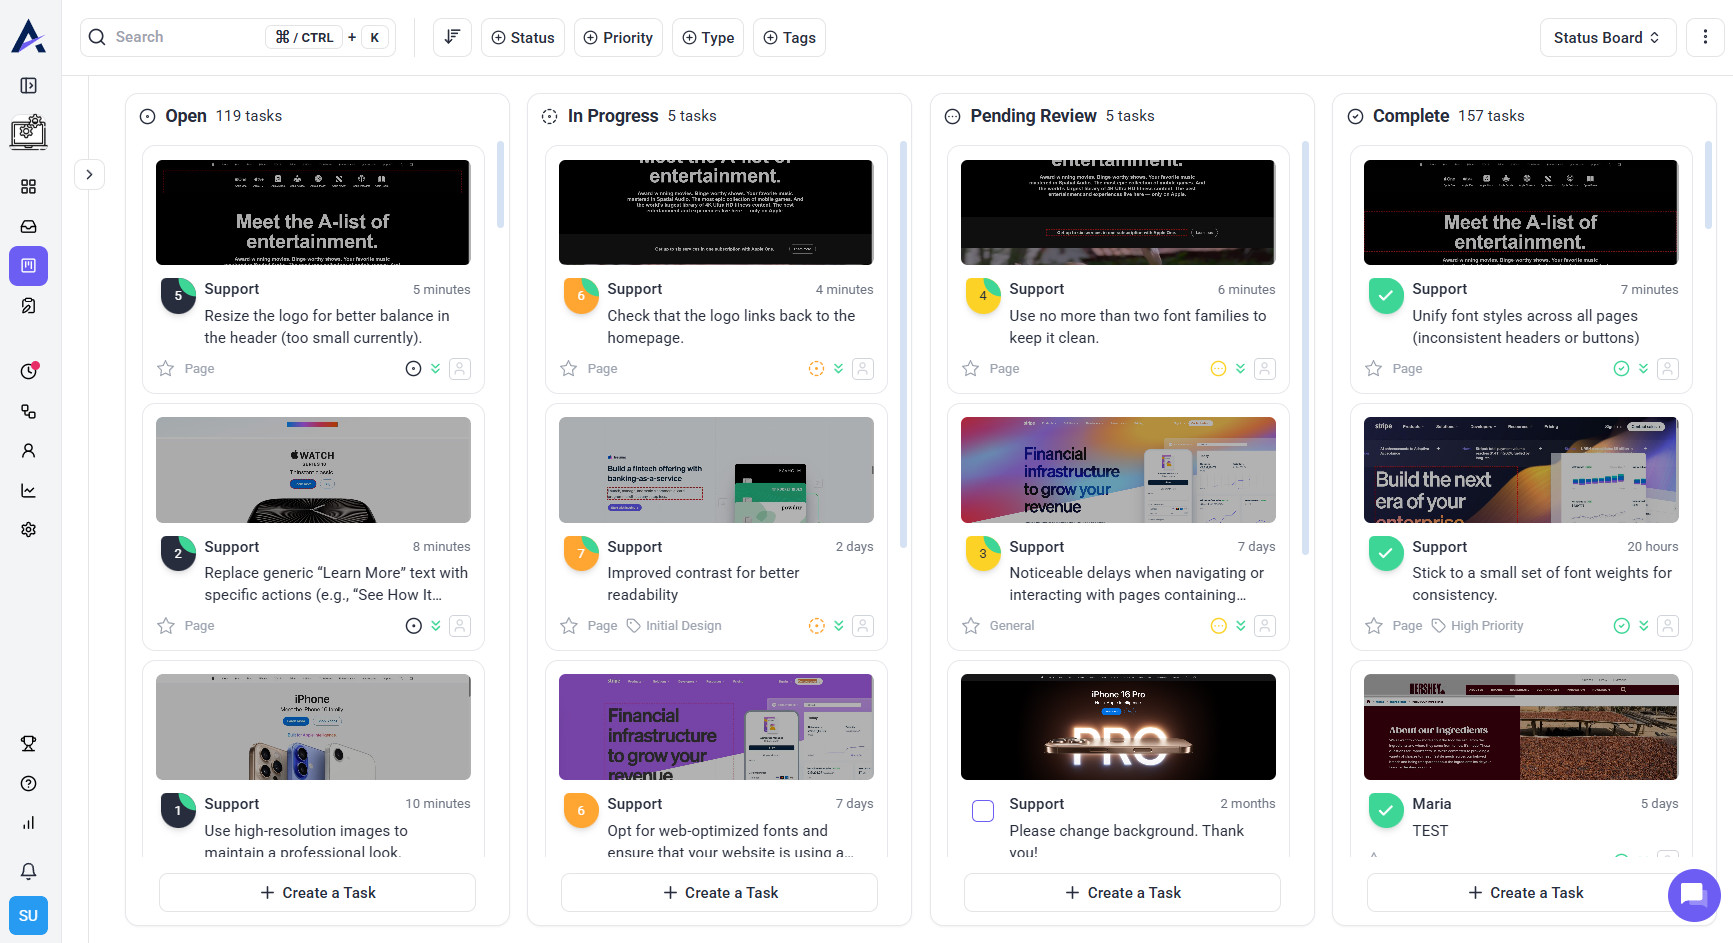
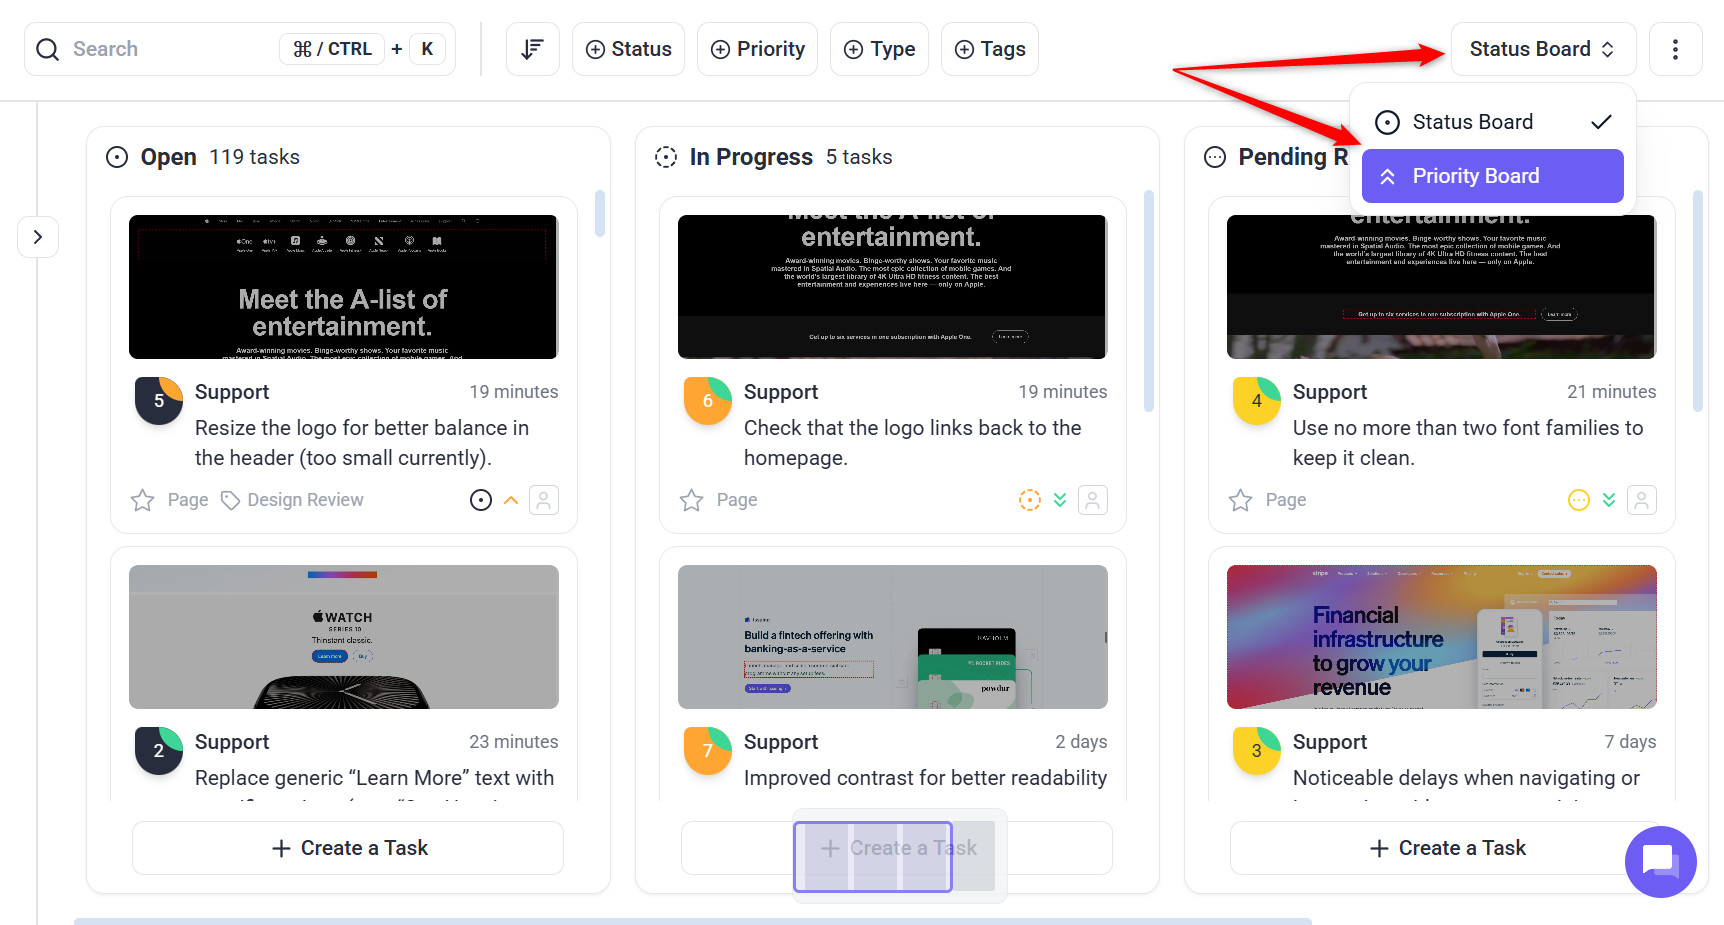
Work Across Projects, Not Project by Project
The biggest inefficiency at scale is opening projects one at a time. Both task views can span several projects, so you can work by priority rather than by client.
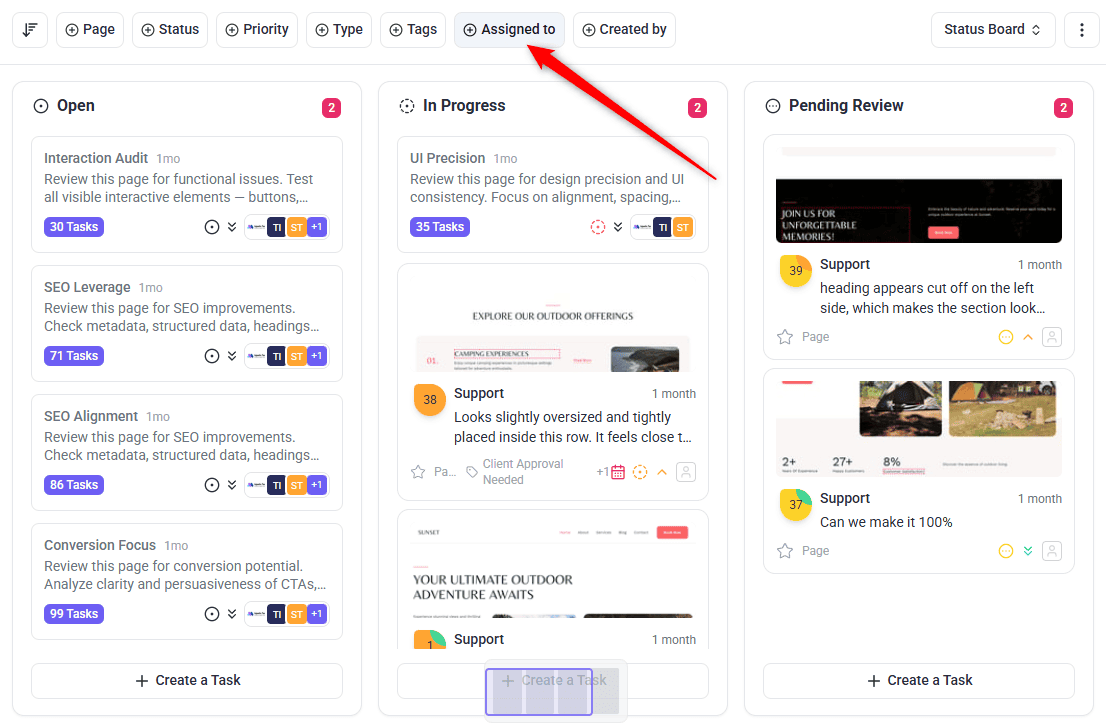
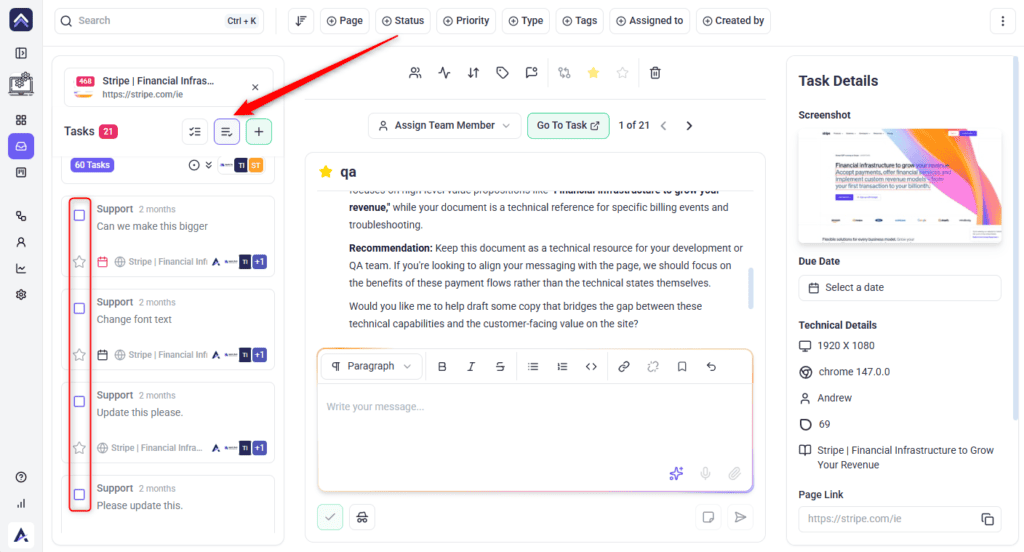
Use Bulk Actions After Every Review Round
Forty tasks handled individually is a morning. Handled as a batch it is a few minutes.
Automate the Parts That Repeat
Anything you do the same way on every project is a workflow waiting to be built. At ten projects that saves minutes; at fifty it changes how the team works.
| Repetitive job | Automate it with |
|---|---|
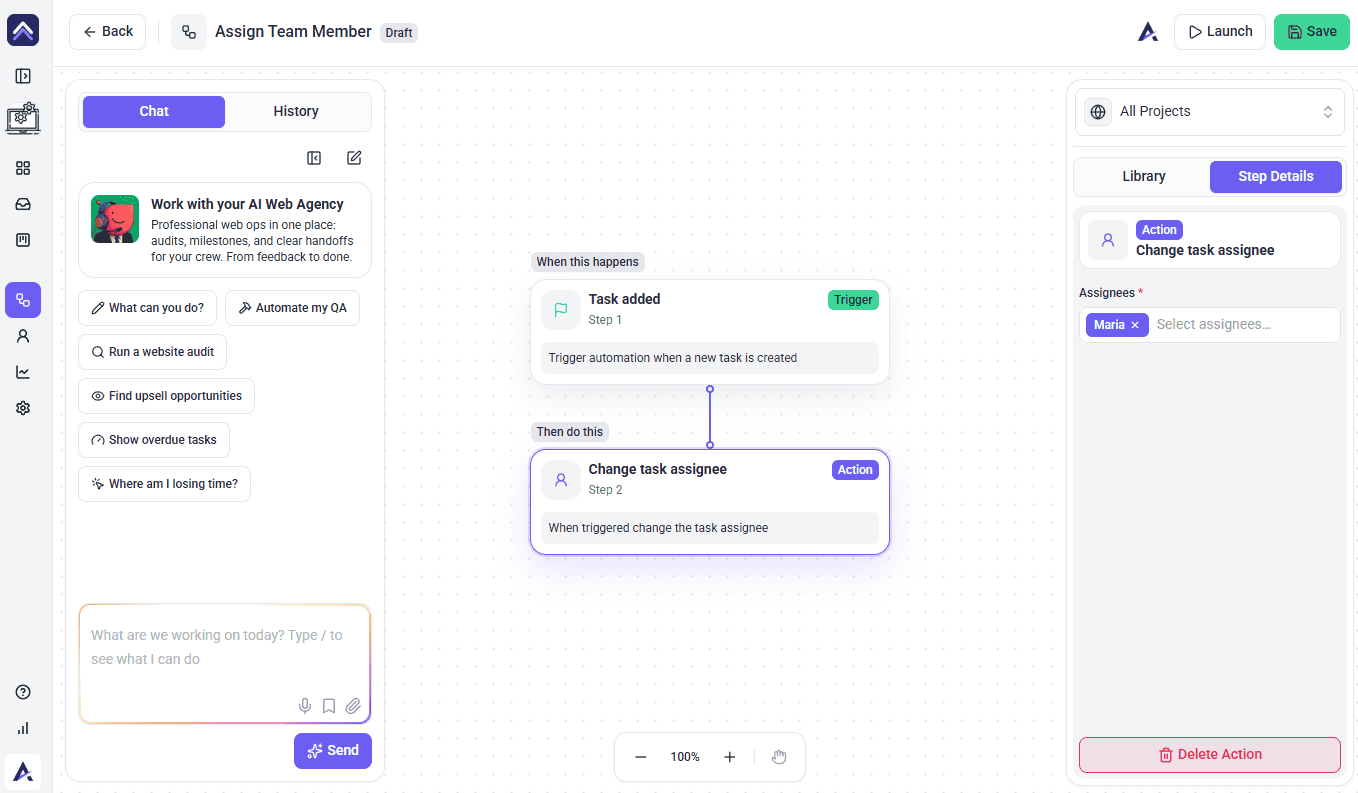
| Routing new tasks to whoever owns that account | Task added trigger with a Change task assignee step — no credit cost. |
| Telling your team when a client comments | Task comment added with a Slack notification. |
| Chasing work that has gone quiet | A status change, a Delay, then a comment. |
| Monthly proactive checks on retainer clients | A Schedule trigger with an AI design review and a PDF report. |
| Knowing when an automation breaks | A Workflow Failed trigger that notifies you. |
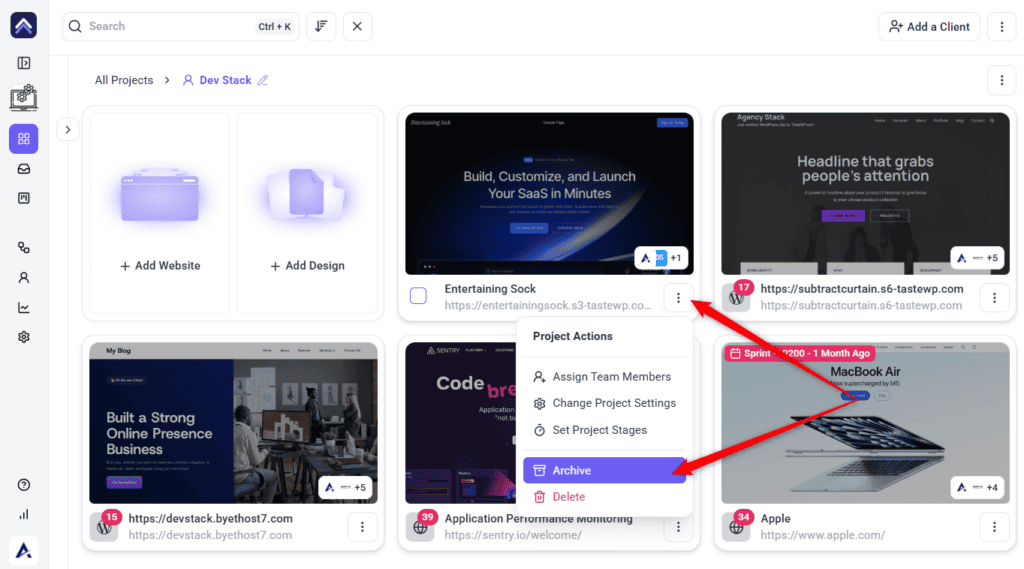
Keep the List to Live Work Only
A Projects screen showing three years of finished builds is unusable regardless of how well it is organised. Archiving is the maintenance habit that keeps structure working.
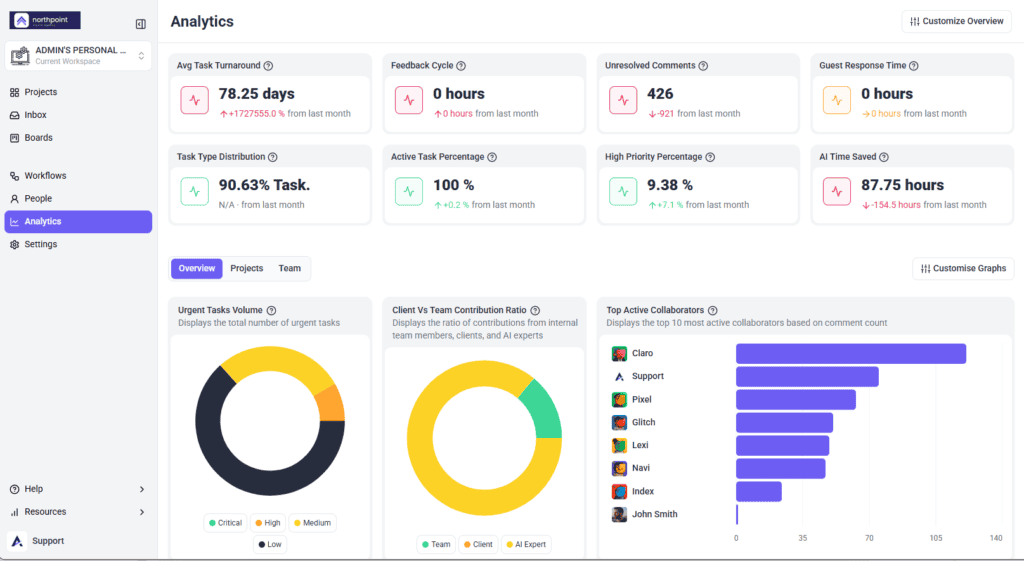
Use Reporting to Find the Bottleneck
At volume, the useful question stops being “what is happening on this project” and becomes “where is our time actually going”. That is a reporting question.
Consolidate Duplicated Work
Running many projects tends to produce staging and live pairs, or duplicates created by accident. Rather than working them separately, tasks can be moved or copied between them.
Benefits of Working This Way
| Benefit | In practice |
|---|---|
| Onboarding is one action | A new starter joins a folder and gets every project in it, including future ones. |
| Nothing arrives unowned | An assignment workflow means no task waits for someone to notice it. |
| You work by priority, not by client | A multi-project board shows what matters most across the whole book of work. |
| Volume stops being a problem | Bulk actions turn a forty-task review round into a few minutes. |
| The list stays live | Archiving at sign-off keeps the screen to work in progress. |
| Bottlenecks surface on their own | Reporting shows the stalled account before the client does. |
Example Use Cases
| Situation | How to set it up |
|---|---|
| An agency with fifteen retainer clients | One folder per client, team assigned per folder, a monthly AI review workflow attached to each, archived at contract end. |
| A team where everyone works on everything | One multi-project board, sorted by priority, with Assigned To Me for individual work. |
| Two brands under one company | Separate workspaces, so the two never appear in the same list. |
| Staging and live sites for each client | Both in the client’s folder, named consistently, using merge to move tasks between them. |
| A Projects screen that has become unusable | Sort oldest first, archive finished work in bulk, then create folders for what remains. |
| A client who always goes to one person | A workflow assigning every new task on their projects to that person automatically. |
Known Limitations
FAQs
Should I use workspaces or folders for my clients?
Folders, in almost every case. Workspaces are for work that should never appear side by side — a separate brand or department. Splitting clients across workspaces means constant switching.
Can I see tasks from several projects at once?
Yes. Choose multiple projects in the Boards or Inbox selector.
What is the quickest way to give someone access to a client’s projects?
Assign them to that client’s folder. They get every project in it, including ones added later.
How do I stop my Projects screen becoming unmanageable?
Archive at sign-off rather than in an annual clear-out, and organise the rest into folders by client.
What should I automate first?
Task assignment. It costs no credits to run and means nothing arrives without an owner.
How do I find a project quickly?
Press Ctrl + K and type its name. It searches sites and tasks together.
Why does a project seem to be missing?
Usually a filter left on from an earlier session, or the wrong workspace. Check both before assuming it was deleted.
Common issues
- A project has disappeared — check the workspace, clear your filters, then look in Archived Projects, in that order.
- You are switching workspaces constantly — the work probably belongs in one workspace with folders. Workspaces are for genuine separation.
- New projects are not covered by your workflow — workflows attach per project. Add the new one to the workflow on the Manage tab.
- Someone cannot see a project you expected them to — check whether they are assigned to its folder rather than the project.
- A bulk change affected more than intended — Select all visible tasks follows your filters. Narrow them first.
- Your project list is full — archive finished work rather than upgrading. It frees the same slots.
- Tasks have vanished from your Inbox — their project may have been archived. Restoring it brings them back.
Conclusion
Scaling in Atarim is four habits: one folder per client with the team assigned to it, consistent names, one board across everything, and archiving at sign-off. Automate assignment, learn Ctrl + K, and the difference between ten projects and fifty stops being a difference in effort.
If your list has already grown past the point of being useful, organising it is the place to start. Explore Adding And Managing Folders
Tips & best practices
- One workspace, many folders. Reach for a second workspace only for genuinely separate businesses.
- Organise folders by client, not by status. Statuses change; clients do not.
- Assign people to folders rather than projects, so new work is covered automatically.
- Learn Ctrl + K. It is the biggest single speed gain at volume.
- Build the assignment workflow first — it costs nothing and removes most triage.
- Archive at sign-off, not once a year, and always archive rather than delete.